![]()
Overview
Watson is here to help you monitor your time. You want to know how much time you are spending on your projects? You want to generate a nice report for your client? Watson is here for you.
Tell Watson when you start working on a task with the start command.
Then, when you are done, stop the timer with the stop
command. This will create what we call a frame. That’s pretty much
everything you need to know to start using Watson.
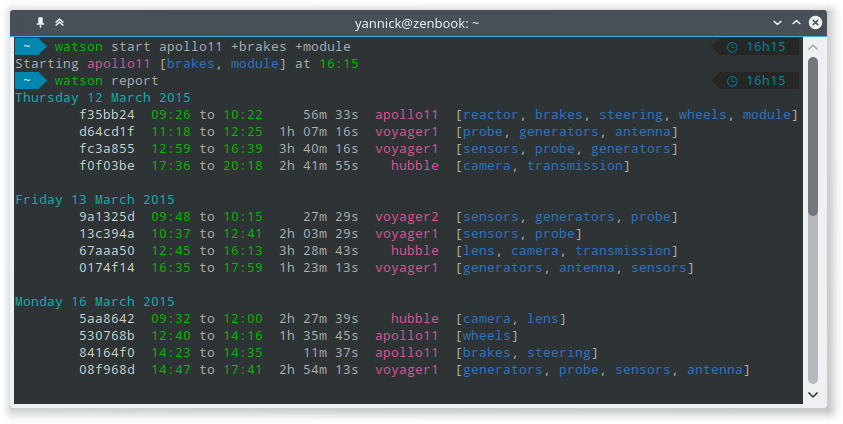
Each frame consists of the name of a project and some tags. Your tags can be shared across projects and can be used to generate detailed reports.
Watson stores everything on your computer, but you can go wild and
upload to your own crick server
via the sync command to store your sessions remotely and share them
with your colleagues.
Installation
Watson is available on any platform supported by Python (Windows, Mac, Linux, *BSD…). The easiest way to install it is to use pip:
$ pip install td-watson
Depending on your system, you might need to run this command with root privileges in order to install Watson globally.
On OS X, the easiest way to install Watson is using Homebrew:
$ brew update && brew install watson
Distribution packages
You can install Watson using available distribution packages.
Arch Linux
A PKGBUILD file for building an Arch Linux package is available in the
AUR. You can build and
install it using the makepkg
or an AUR helper.
Please refer to the official documentation for more information on
installing AUR packages.
Single user installation
You can choose to install Watson for your user only by running:
$ pip install --user td-watson
If after this the watson command is not available, you need to add ~/.local/bin/ to your PATH. If your terminal is Bash, you can do this by running:
$ echo 'export PATH="$HOME/.local/bin:$PATH"' >> ~/.bashrc # Add ~/.local/bin/ to your .bashrc PATH
and restarting your terminal session or sourcing the .bashrc:
$ source ~/.bashrc # Reload your .bashrc
Development version
The latest development version can be installed using the following commands:
$ git clone https://github.com/TailorDev/Watson.git
$ cd Watson/
$ pip install -e .
Command line completion
Bash
If you use a Bash-compatible shell, you can install the watson.completion file from the source distribution as /etc/bash.completion.d/watson - or wherever your distribution keeps the Bash completion configuration files. After you restart your shell, you can then just type watson on your command line and then hit TAB to see all available commands. Depending on your input, it completes watson commands, command options, projects, tags and frame IDs.
ZSH
If you use zsh, copy the file watson.zsh-completion somewhere in your
fpath as _watson. For example, you can put it in
/usr/local/share/zsh/site-functions:
cp watson.zsh-completion /usr/local/share/zsh/site-functions/_watson
Make sure that your .zshrc enables compinit:
autoload -Uz compinit && compinit
Fish
If you use fish, you can copy or symlink the file watson.fish from the source distribution to ~/.config/fish/completions/watson.fish.
You may need to make the completions directory as it is not created by default.
Once this is done, re-source your fish config:
source ~/.config/fish/config.fish
You will now have command completion for fish, including the completion of known projects, tags, and frames.
Getting started
Now that watson is installed on your system, let’s start tracking your activity:
$ watson start world-domination +cats
With this command, you have started a new frame for the world-domination project with the cat tag. Time is running. Now, you need to work on your project. Let’s do this. Now.

Welcome back! Now that your world domination plan has been set up, let’s stop time tracking via:
$ watson stop
Project world-domination [cat] started 34 minutes ago (id: 166d1fb)
To list all available commands, either explore the commands documentation or use:
$ watson help
We hope you will enjoy Watson!